Since we are all likely home more and having to find ways to get creative with our time I have rounded up some books from our free service, hoopla, to help with projects that you may have been putting off or that suddenly are very relevant to you! Whether it’s that sewing machine you are dusting off or making your own soap so that you are sure to never run out we’ve got you covered.
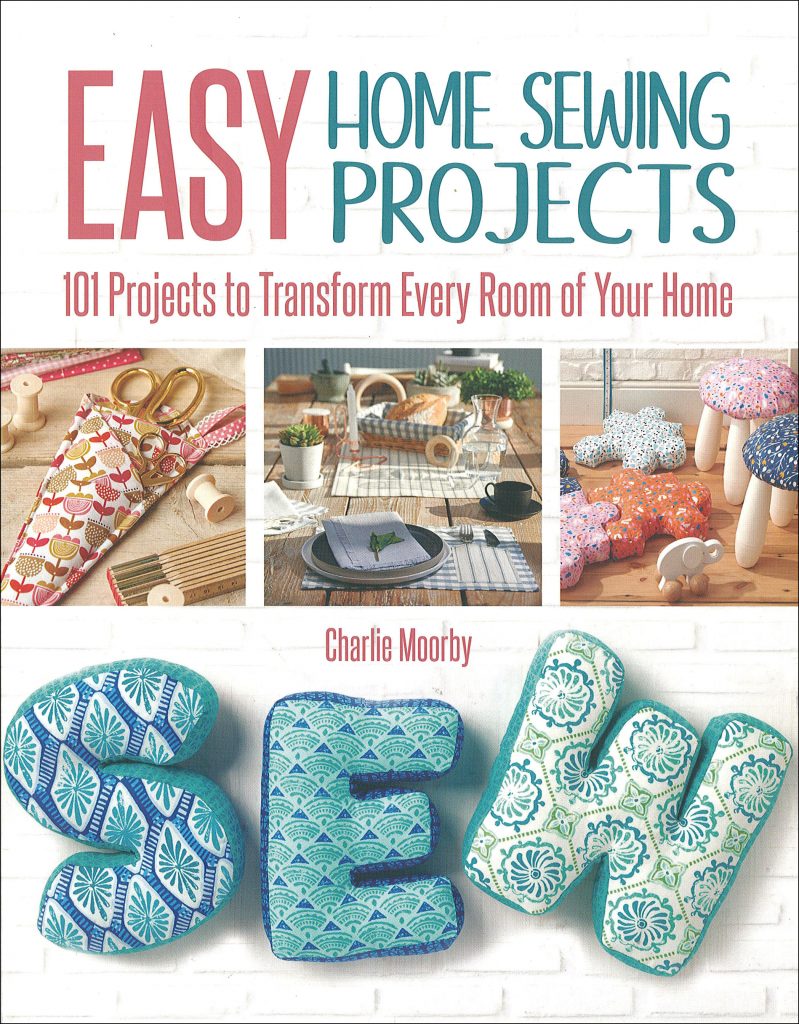 Easy Home Sewing Projects
By Charlie Moorby
Available on Hoopla
There’s something for everyone in this bright and inspiring collection of home sewing projects! Whether you’re moving into a new home, redecorating an old house, or just updating a room, you’ll find quick and easy projects here to make your living space simply beautiful. Designed to let you give your dwelling a speedy fabric makeover, this book offers inspirational ideas for every room. Transform the heart of your home with bright kitchen accessories, or create the perfect table linen setting. Create a bold boudoir with bright bedroom designs, make tactile toys for the nursery, or revamp your home office with a functional organizer. And don’t neglect the deck, with lovely al fresco accessories and more. 101 Home Sewing Projects is guaranteed to stir up your creativity with clear step-by-step instructions and gorgeous color photography.
 Mending Matters
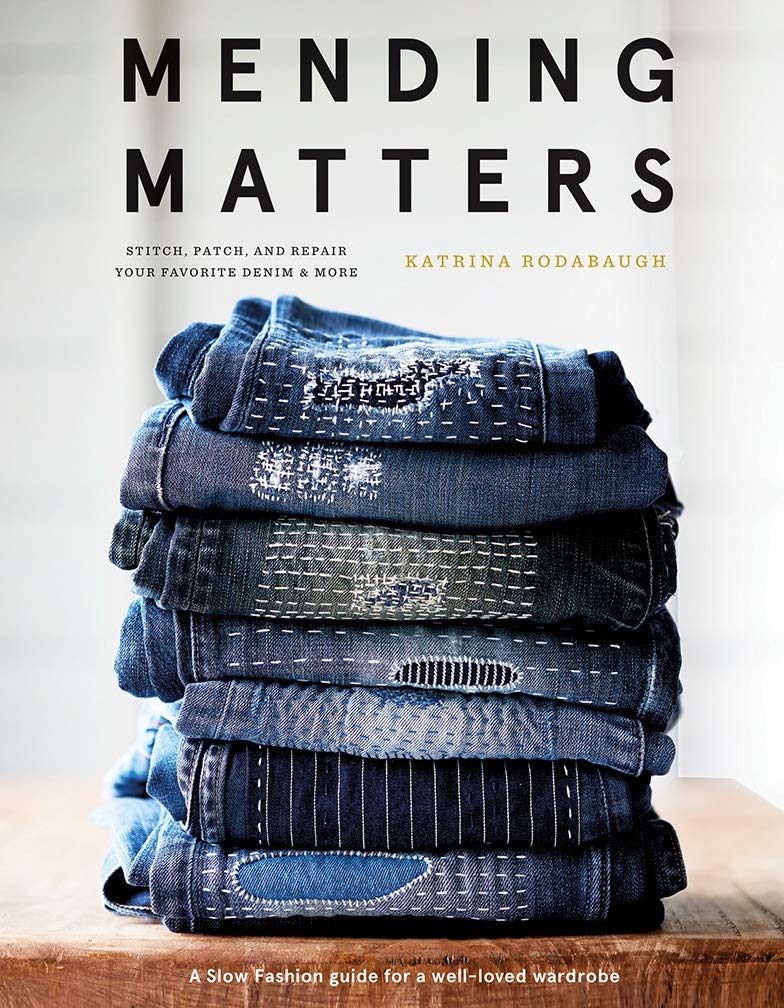
By Katrina Rodabaugh
Available on Hoopla
Mending Matters explores sewing on two levels: First, it includes more than 20 hands-on projects that showcase current trends in visible mending that are edgy, modern, and bold-but draw on traditional stitching. It does all this through just four very simple mending techniques: exterior patches, interior patches, slow stitches, darning, and weaving. In addition, the book addresses the way mending leads to a more mindful relationship to fashion and to overall well-being. In essays that accompany each how-to chapter, Katrina Rodabaugh explores mending as a metaphor for appreciating our own naturally flawed selves, and she examines the ways in which mending teaches us new skills, self-reliance, and confidence, all gained from making things with our own hands.
 An Almost Zero Waste Life
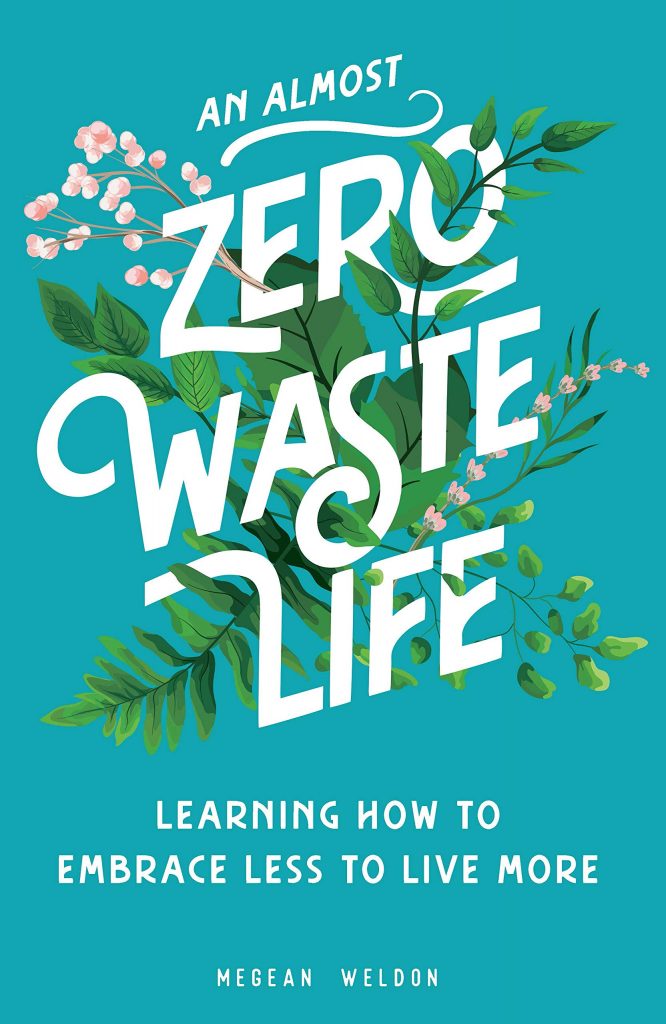
By Megean Weldon
Available on Hoopla
What is zero waste living? Although the practice has been around for generations out of necessity, it is making a comeback as concerns grow about the fate of our environment. To put it simply: it is attempting to send no waste to landfills. Although you may have read or heard about “zero waste,” “sustainable,” or “green” living, the concept can sometimes seem too complicated, the author’s tone a bit self-righteous, or riddled with advice geared for people with 5 acres of land in the country with dreams of raising livestock and homesteading. This is not that book.
Can a “regular” person do this? Absolutely! Zero waste isn’t necessarily about zero, but more about changing or altering the way we see the world around us, how we consume, and how we think about waste. It’s about making better choices when we can, and working to reduce our overall impact by reducing the amount of packaging and single-use plastics we bring into our life.
 Handmade Soap Book
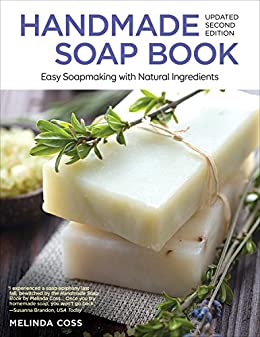
By Melinda Coss
Available on Hoopla
In a world filled with pollution and chemicals, this book shows you how to create your own soaps and bathtime luxuries using only natural ingredients and very little specialist equipment. Create the perfect gift for family and friends, kids and grown-ups. This book features a huge range of tempting ingredients, such as peach, peppermint, ylang ylang, cinnamon and chocolate, and includes recipes for shampoo bars, body splashes and bath creams. The simple, sumptuous and easy-to-follow recipes and luscious photography will be an inspiration to anyone who cares about what they put on their skin.
 Start Your Own Etsy Business
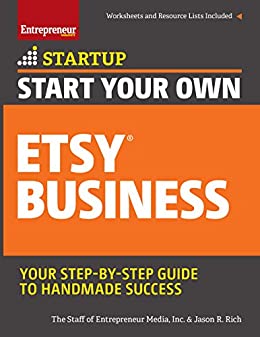
By Jason R. Rich
Available on Hoopla
Whether you’re a master crafter, a carpenter, a jewelry designer, or have become passionate about making the best home décor in town, now is the time to go from hobby to full-time business owner. And with million shoppers ready to discover your unique offerings it only makes sense to join the largest, most successful online community of creative entrepreneurs on Etsy. Our experts have teamed up with successful shop owners to provide you with Start Your Own Etsy Business, an easy-to-understand, comprehensive blueprint that takes you through setting up, branding, marketing, and managing your store. Plus, gain worksheets, templates, resource lists and tips designed to go from passion to profits. If you’re ready to share your passion for your craft with millions around the world, this guide is for you.
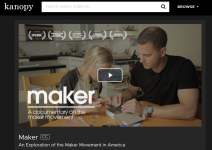 Maker: An Exploration of the Maker Movement in America
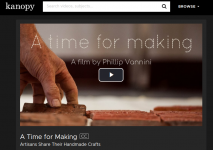 A Time For Making
 Craft In America Series
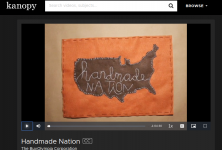 Handmade Nation