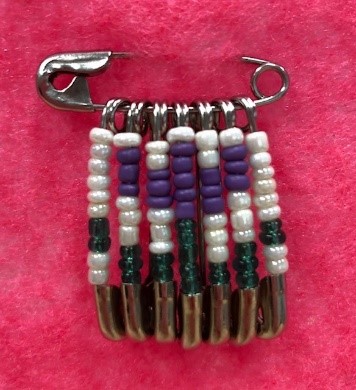
We have started a weekly video series called “Studio Sessions,” which is posted on our social media channels every Saturday. In it, I either feature a craft you can do at home or delve more deeply into the kits we have available for use in The Studio. Last week, I taught you how to make beaded safety pins (watch it here if you missed it!).
In the video, I used a pattern I designed of a tulip.


It is super easy to make your own patterns for beaded safety pins. Just test out the safety pins you have around and see how many seed beads fit on them. For my pattern, I used 1” safety pins. I could get 10 beads on each, and could comfortably get 7 safety pins across. You could use graph paper and simply color in the pattern until you get something you like. Or, if you prefer to use the computer like me, you can use Excel to draft your pattern. I changed the column width to 2 and turned on inside and outside borders. Then, I used the paint bucket tool to fill in the pattern. This was an easy, no mess way to keep adjusting the pattern as I went along until I got something I liked.
If you’re not feeling up to designing your own, there are lots of patterns already out there! I’ve created a Pinterest board of patterns and inspirational ideas to help get you started.
If you need information on the mechanics of putting together your own beaded safety pin, the Studio Sessions video below will walk you through it.
Happy crafting!

