We’ve missed creating new things with you at The Studio! Since we cannot host programs or provide make-and-take projects at this time, we wanted to share a DIY that you can make with supplies that you likely already have around the house.
Since Mother’s Day is only a week and half away, and Father’s Day is not long after that, we thought we’d share how to make a homemade pop-up card.
This card is almost infinitely customizable, so don’t limit your ideas to just your mothers and fathers! These would be a great idea to send to friends to connect with them while we are all sheltering at home, or to celebrate any milestone you want.
You only need a few supplies to get started.
Materials needed:
- 2 pieces of heavy construction paper or cardstock
- Small pieces of various colors of paper, depending on your theme
- Markers, crayons, or glitter pens (whatever you prefer for writing your message)
- Pencil
- Glue or glue stick
- Scissors
- Ruler
- Stickers (optional)
Directions:
Plan what items you would like to have pop up from the card. You could draw hearts, balloons, gift boxes, animals – you name it! You might even want to start with a silly pun like we did (You’re whale-y awesome, I love you a latte, You’re dino-mite, Thank you berry much, etc.) and use that to decide what item you’d like to have pop up. If you’re not comfortable drawing or creating freehand shapes, you could even put stickers on a piece of construction paper or cardstock and then cut around it. Once you’ve decided, cut your shapes out of the small pieces of paper, and color if you wish.
Take the piece of paper that you want to be the inside of the card. Measure your card and your pieces.
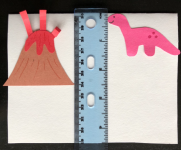
You want to make sure that any lines you use to cut will be small enough to be covered by your design, and also that you don’t cut so deep that your design will hang over the edge of the card when it’s folded up.
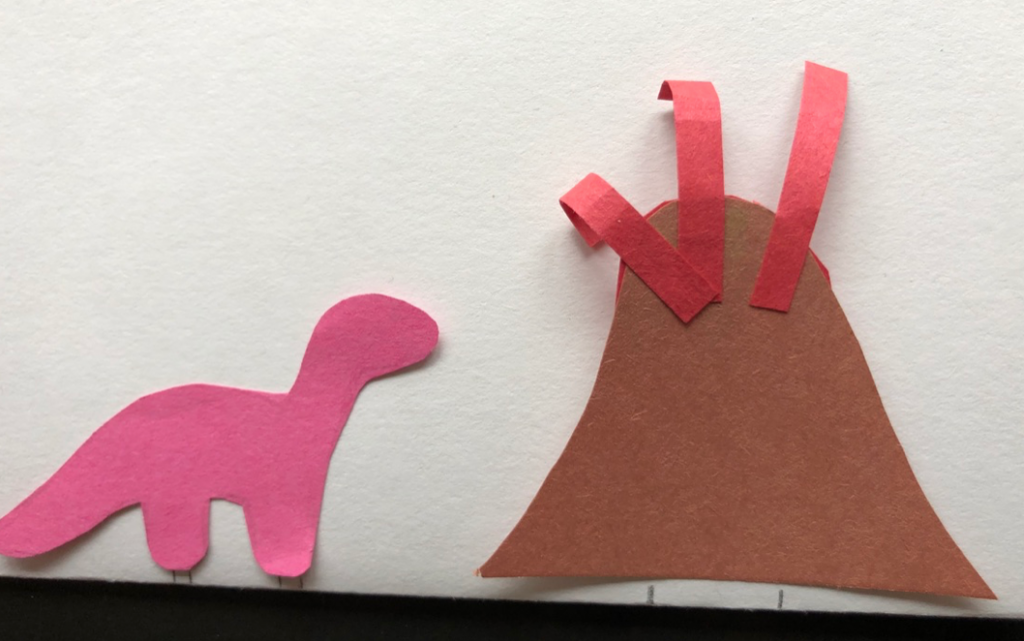
Here, we put small lines that would fit within our design, and then used a ruler to draw lines straight out from there. To get a more dimensional effect, we made the lines for the dinosaur 1” long and the lines for the volcano ¾” long. This will make the dinosaur look closer when you open the card.
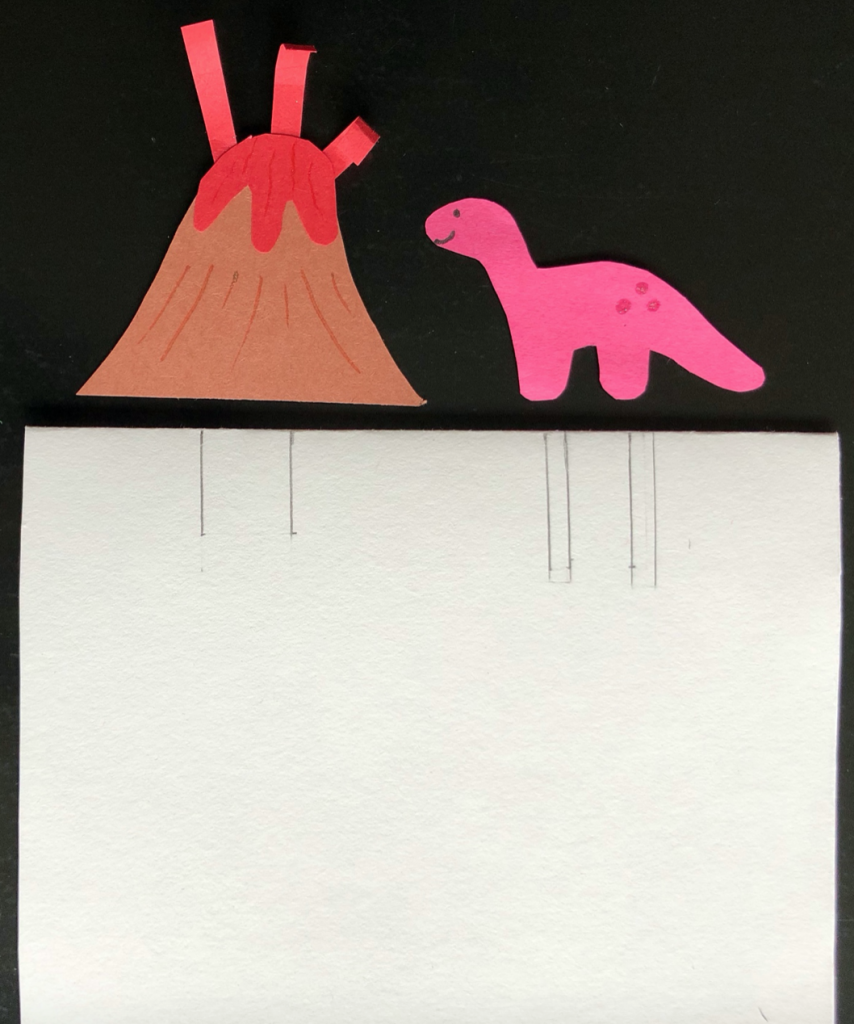
Push the cut areas forward and crease.
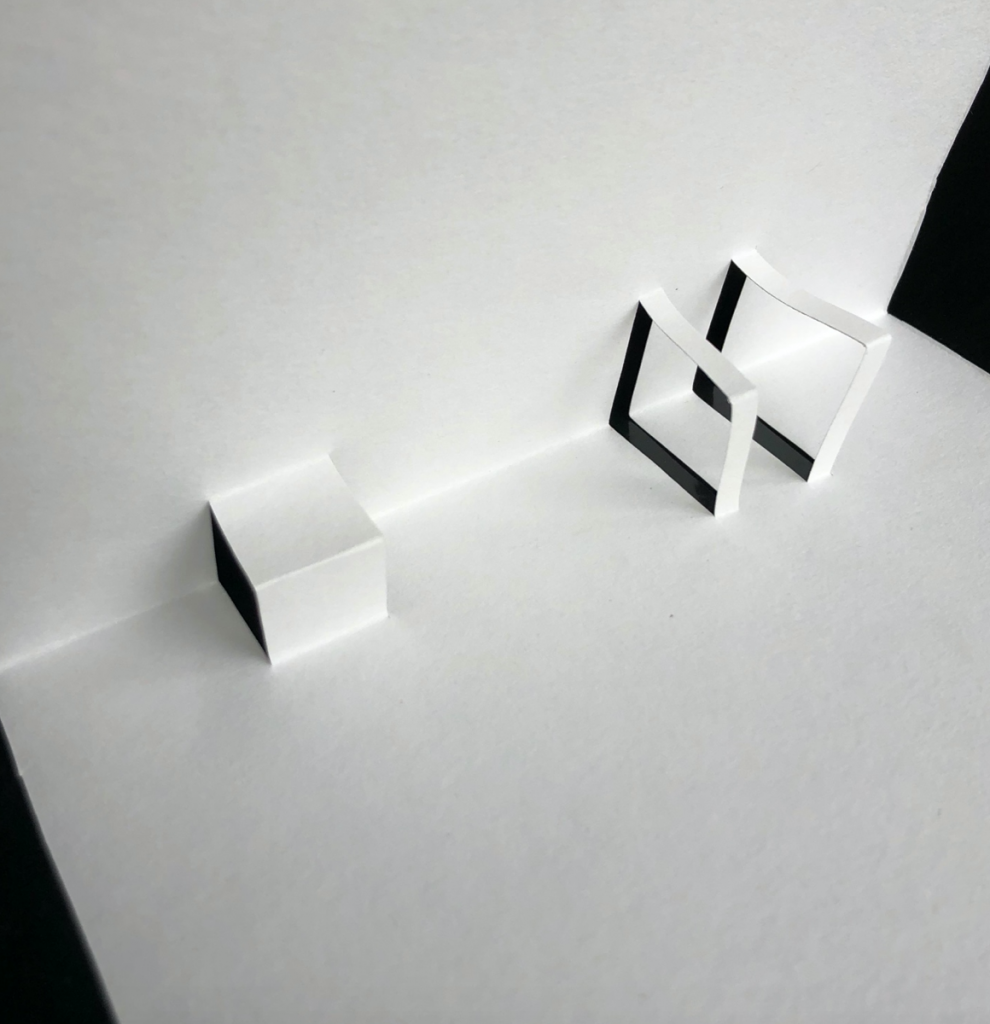
Open the card and glue your item to the bottom half of the cut piece. Repeat as needed.
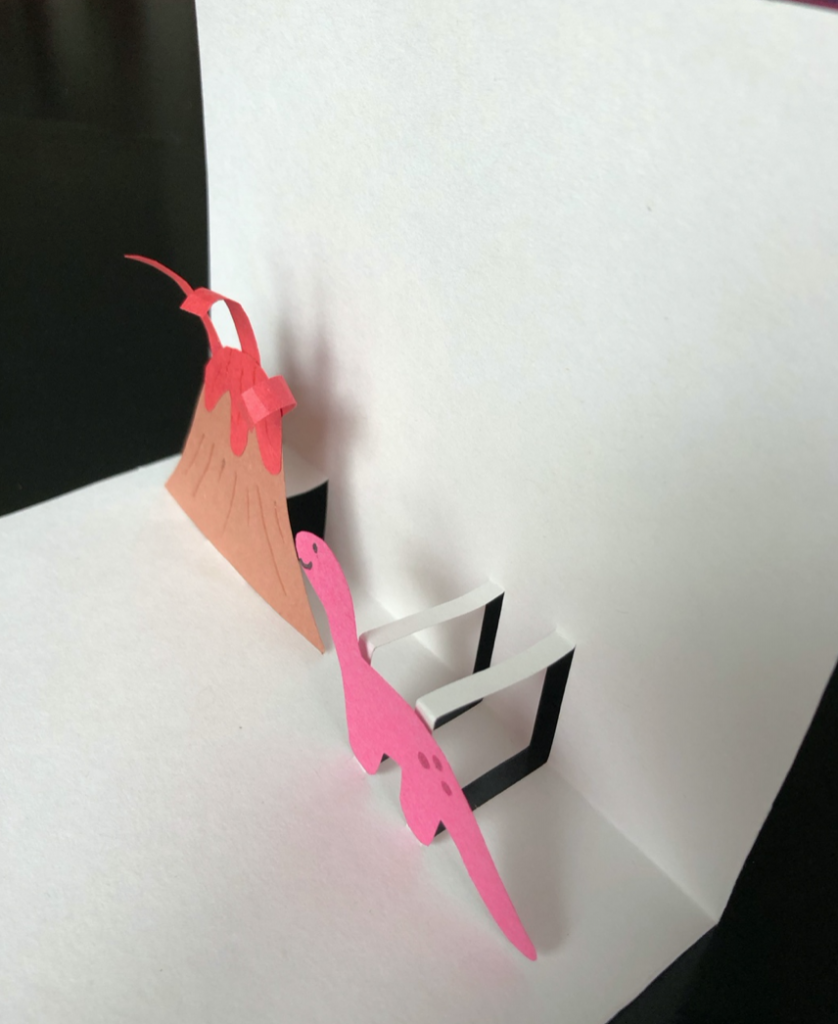
To add even more dimension to this one, we added a decorative cut to a piece of green construction paper and folded it over. Just glue down the flat piece. Add your message.
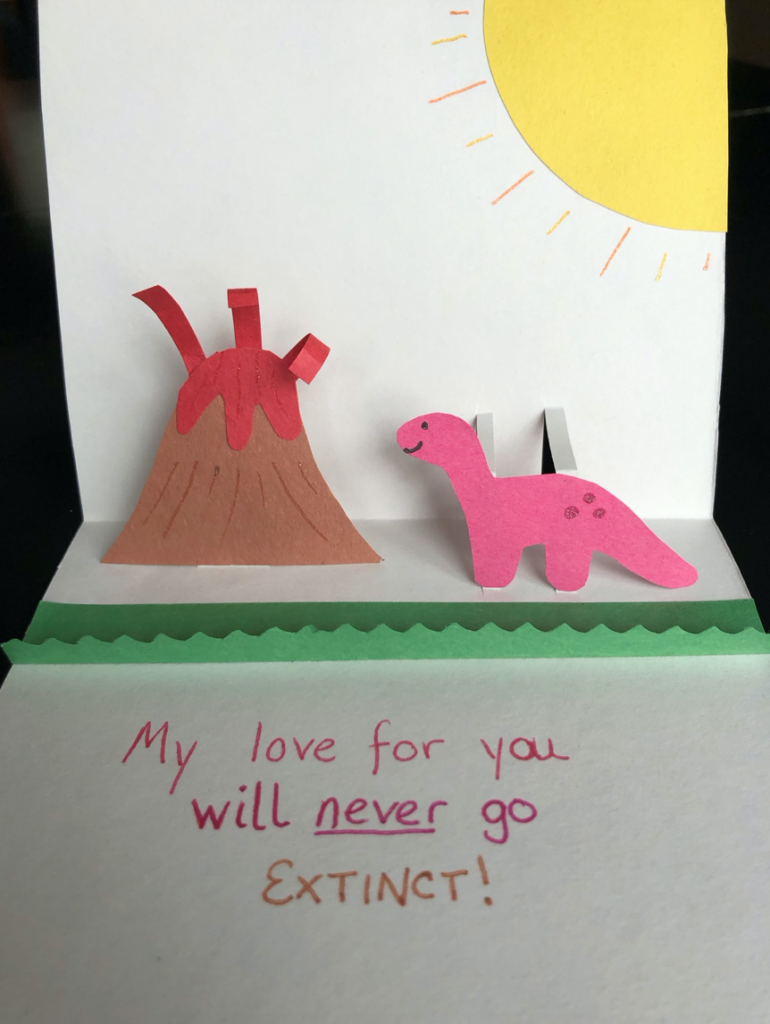
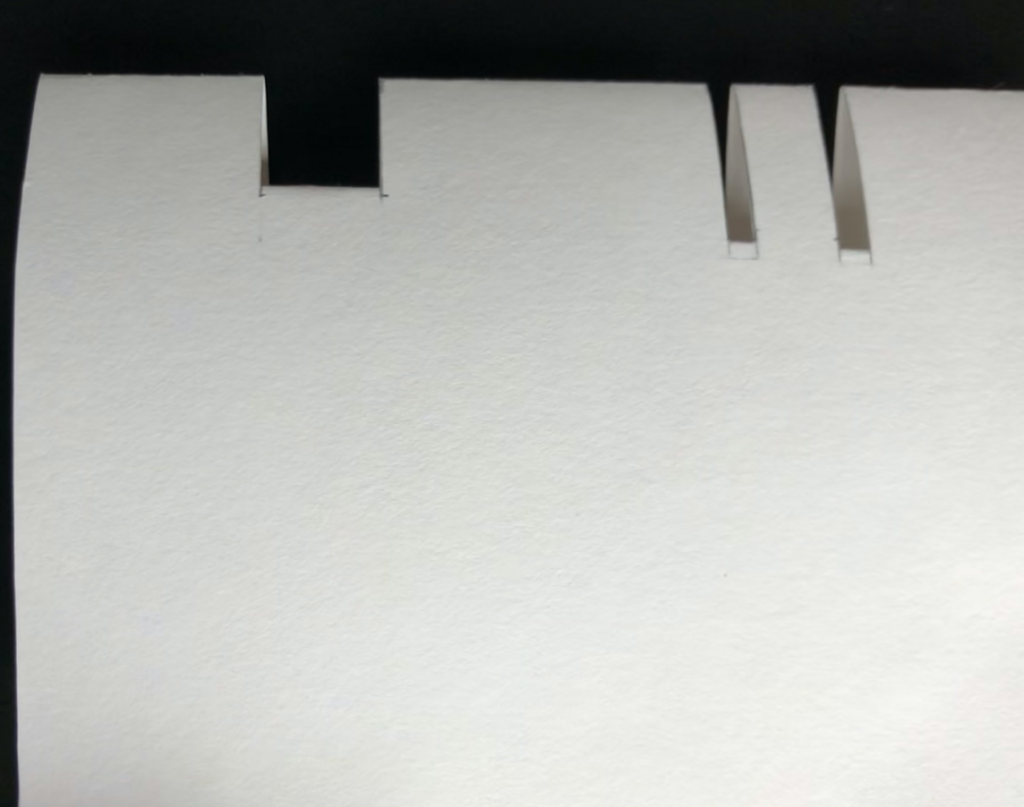
This leaves you with a card that has notches in it, so to cover that up, use your second larger piece of construction paper to glue to the outside. Make sure you don’t put glue on the pop-up pieces!
Decorate the front in coordinating items and add your inscription on the inside.
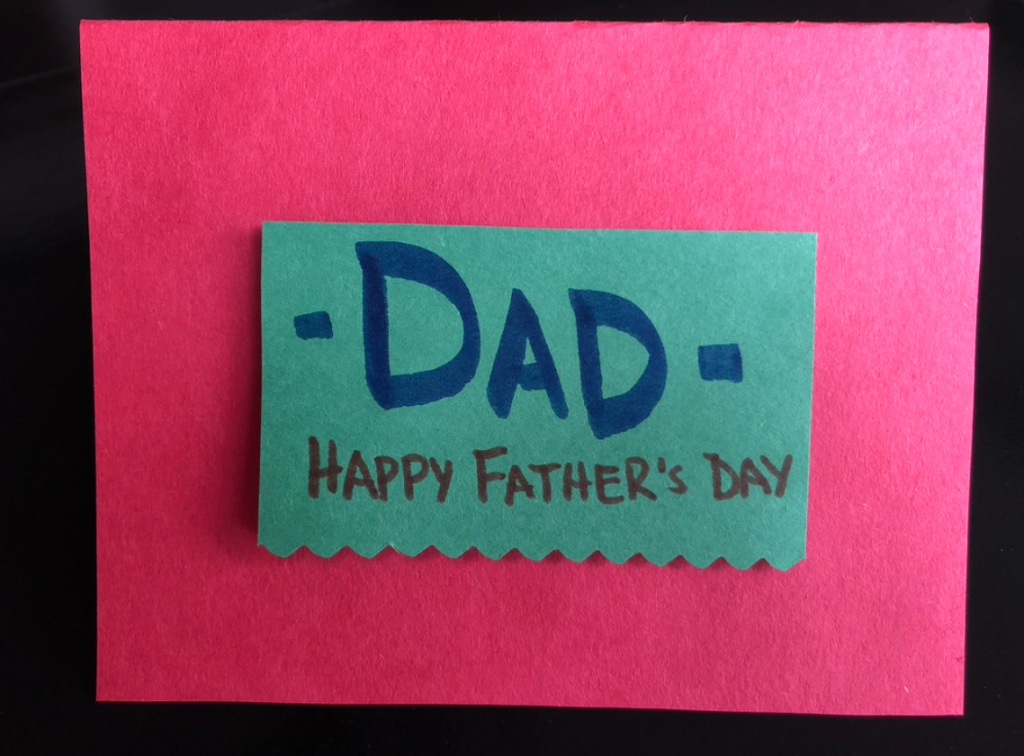
Here are a couple of other cards we made using the same method.
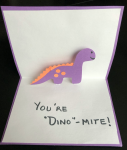
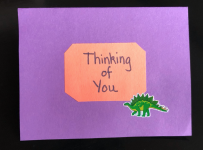
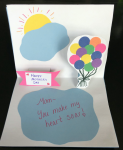
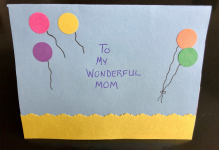
There are a lot of other ways to make pop-up cards that would also be fun to try. One easy way is to cut out 4 of the same size and shape items and layer them by just gluing in the crease.

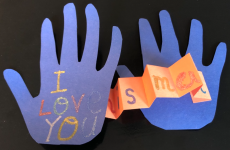
We also made a simple and fun card by tracing a child’s hands onto construction paper and cutting them out. Then we cut a strip of construction paper, folded it accordion style, and then put one letter per fold, so the final card reads “I love you this much.”
For more pop-up card inspirations, visit our Pinterest Pop-Up Card Inspiration board!
